New User Process
Corvus Administrators can follow the below steps in order to effectively manage a New User who requires access to Corvus.
- Ensure the New User has a domain logon
- If the New User does not have their own logon, contact your IT Support
- Ask the New User to launch the Corvus Application on their PC with the supplied links. Each link is site specific, if you cannot locate your Corvus installation links contact support@intov8.com.au for assistance
- Corvus Axiom:
\\yourcompany\corvus\$\users\Intov8.Corvus.Axiom.x86\Intov8.Corvus.Cdms.application Corvus Dashboards:
\\yourcompany\corvus\$\users\Intov8.Corvus.Dashboard.App.x86\Intov8.Corvus.Dashboard.applicationThe Corvus Axiom application will download immediately on the New Users PC, which automatically creates an account, however the modules within will have greyed out, which prohibits any access

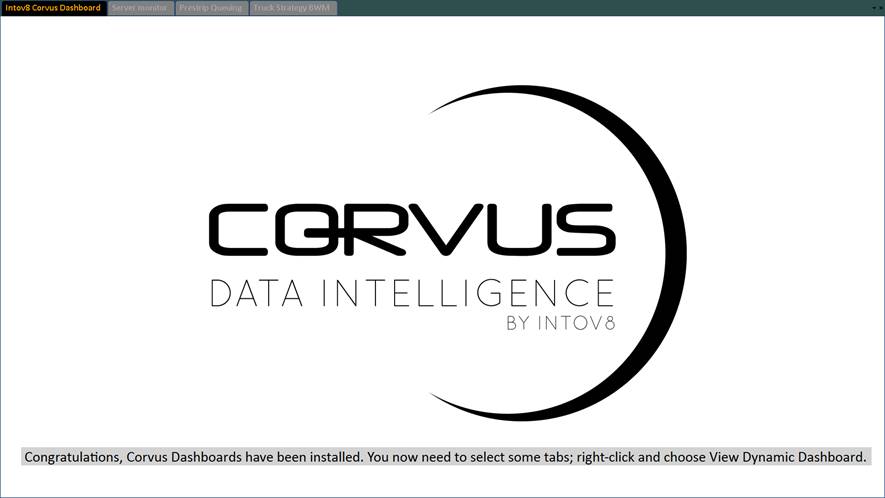
- Corvus Dashboards will download immediately on the New Users PC, however the dashboard will require a default tab assignment
In order to change the New Users Security Role, select Editing Security Access for First Time Users.
Manage Personnel
Managing Personnel Data is a Corvus Site Administrators responsibility as this information changes it will require maintenance.
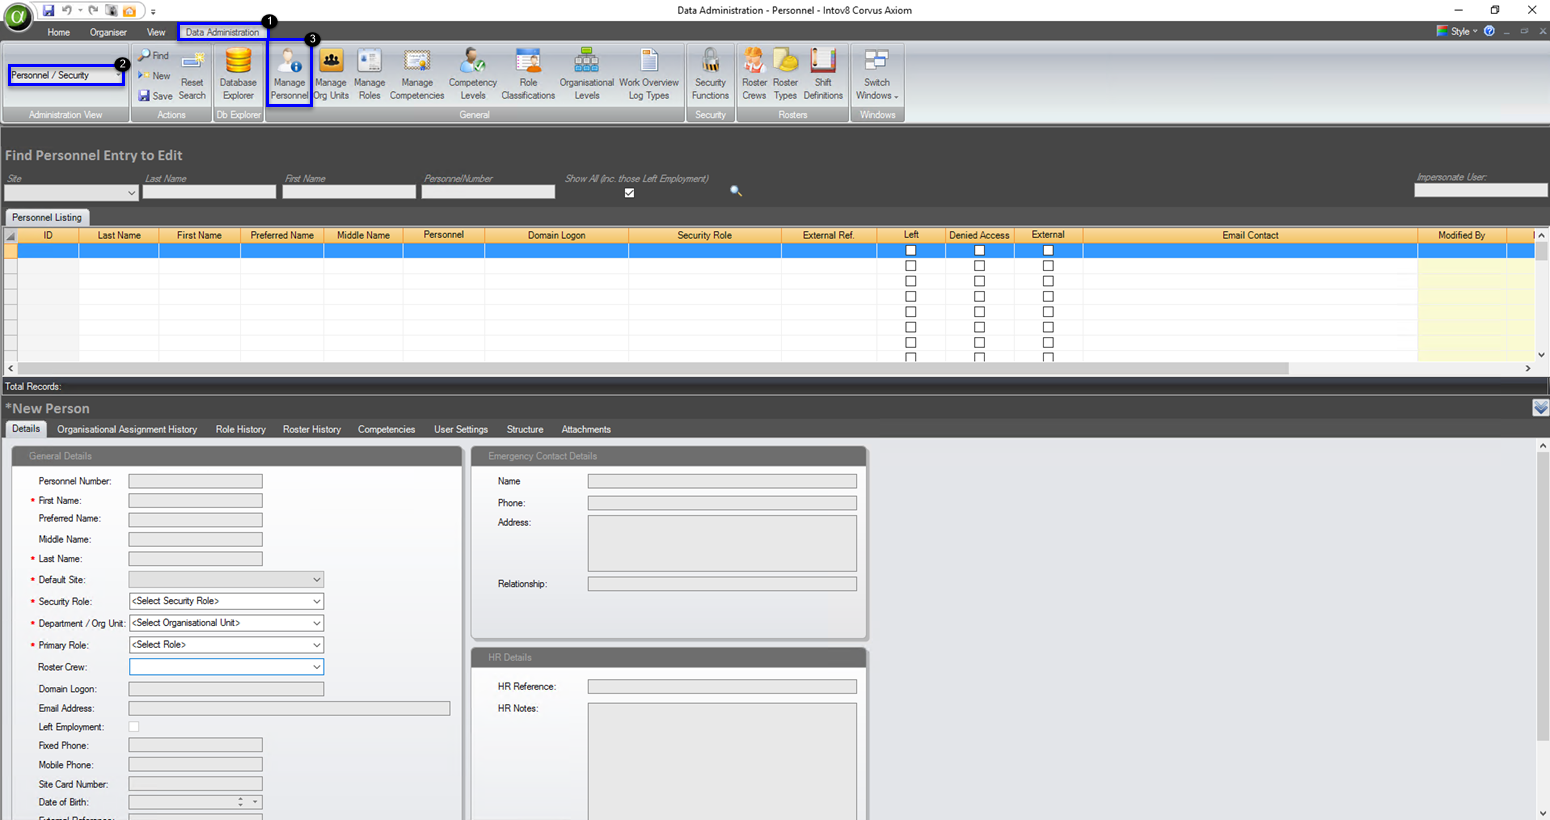
- Manage Personnel can be found via the Data Administration Tab, ensure Personnel / Security is selected and click Manage Personnel:
Adding a Personnel Record
It is recommended that all personnel follow the steps in the New User Process for setting up their Corvus profile. However, on occasion it may be required to create a New Profile for personnel on their behalf as
they may not install Corvus Axiom on their PC, however do exist as an employee on site and need to be lodged into the system (i.e. Operator).
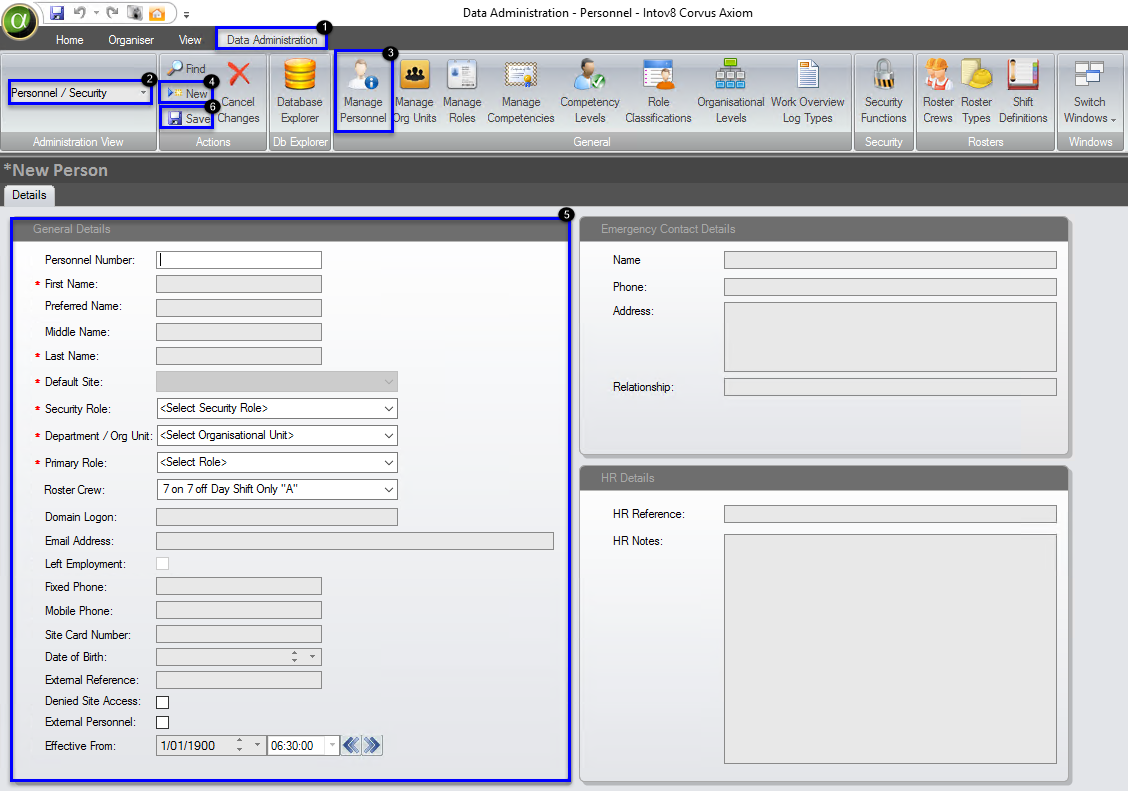
- Select the Data Administration tab
- Ensure Personnel / Security is selected
- Select Manage Personnel
- Select New
- Enter the minimum required details
- Select Save
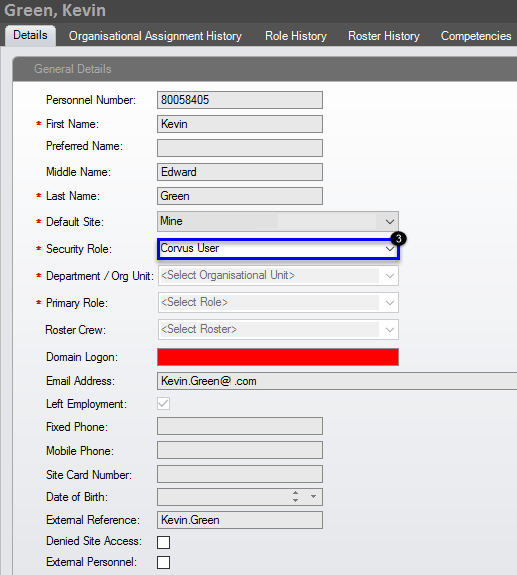
Editing a Personnel Record
If you are required to update a personnel profile, follow the below steps:
- Search the existing user, search all or part of the appropriate
users Last Name, First Name or Personnel Number - Select the appropriate personnel record

- Update Security Role using the drop down menu
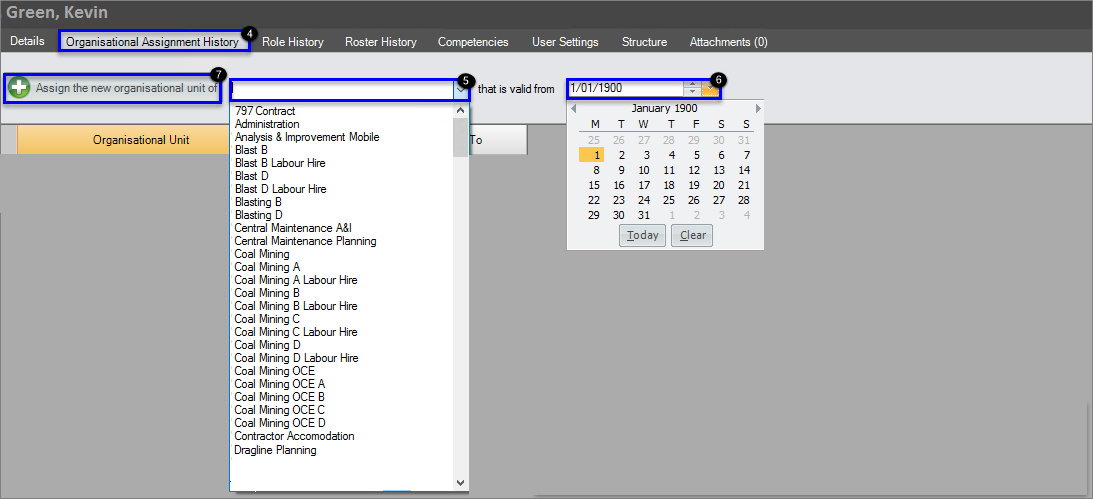
Select the Organisational Assignment History tab
Use the drop down to select the relevant Organisational Unit
Use the Calendar option to select the appropriate that is valid from
dateTo assign, select the Assign the new Organisational unit of
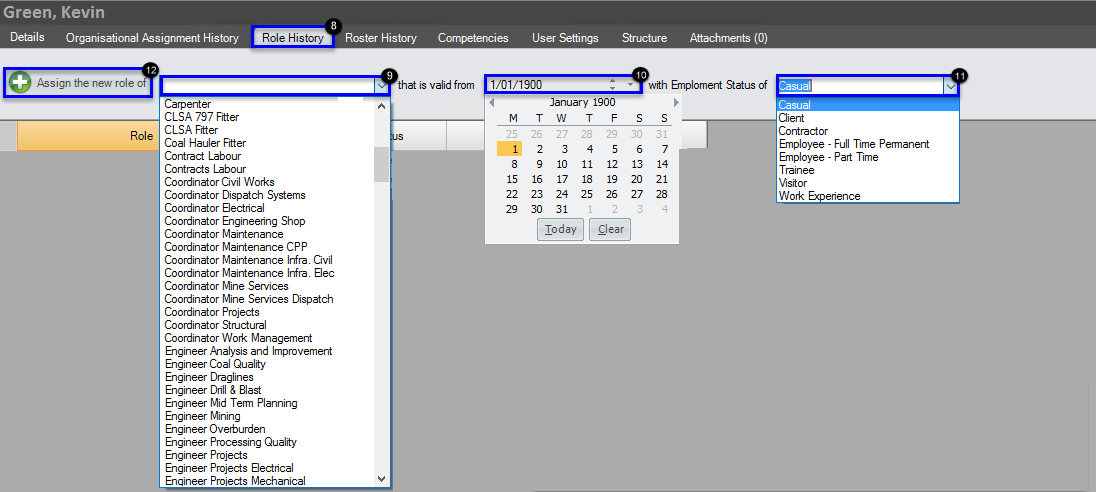
Select the Role History tab
Use the drop down to select the relevant Role
Use the Calendar option to select the appropriate that is valid from date
Select the appropriate with Employment Status of option
To assign, select the Assign the new role of
Select the Roster History tab
Use the drop down to select the relevant Roster
Use the Calendar option to select the appropriate that is valid from date
To assign, select the Assign the new roster of
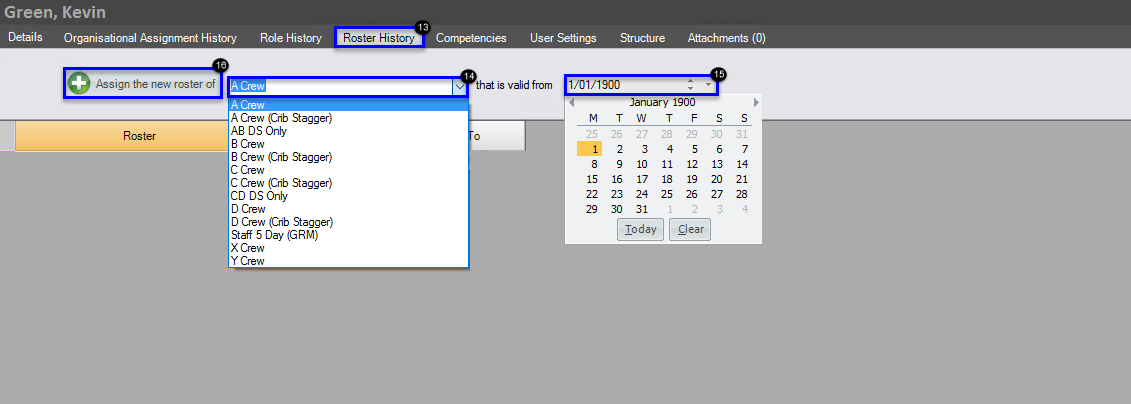
- Select Save

Please note: the user will be required to close and reopen Corvus in order for the changes to take effect.
Terminating a Personnel Record
You may be required to terminate a personnel record if they no longer require access to the system, this could be a result of the user leaving the company.
- Search the existing user, search all or part of the appropriate users Last Name, First Name or Personnel Number
- Select the appropriate personnel record
- Right click and select Terminate Personnel Record

Update Effective Date/Time
Select Terminate
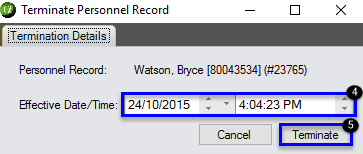
- Left Employment Check box will now be ticked

Transferring a Personnel Record to another site
Corvus Administrators can transfer personnel records to other sites,
however not from other sites. This may be required if the user has been
offered a job opportunity at another Site.
- Search the existing user, search all or part of the appropriate
users Last Name, First Name or Personnel Number - Select the appropriate personnel record
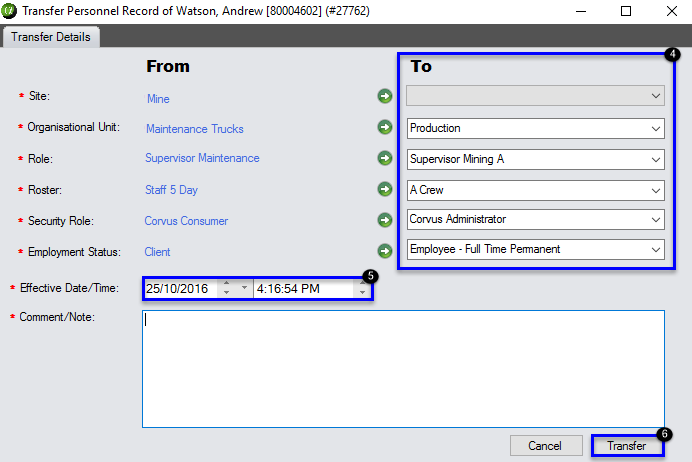
- Right click and select Transfer Personnel Record

Enter the required information using the drop down menus
Update the Effective Date/Time
Select Transfer
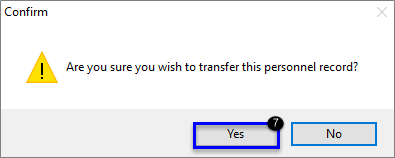
- You will be issued with a confirmation, select yes
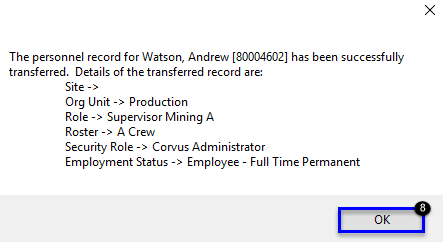
- You will receive a confirmation pop up box with transfer information to verify the result has been successful, select OK